6 Cool Tips & Tricks for DIY Home Improvement
The more time we spend at home, the more time we have to realize that a bit of home improvement might be necessary.
Whether you’re looking for an update because you’re working from home, planning on selling, or you’ve just got some extra hours to fill, DIY home improvement is a great way to spruce things up without spending too much money.
If the idea of doing your own home renovations sounds daunting, take a look at some tips for common interior house projects so your DIY doesn’t end in disaster.
1. Always Take a Before Picture
Taking a ‘before picture’ is not only good for your social media; it’s also helpful to have throughout your project. For example, having a picture of a room you want to change will help you choose colors for walls and furniture, map out layout and practical ways to rearrange, and act as a blueprint if you need to get things back the way they were if your improvements end up, well, not making anything that much better. You should also measure the dimensions of your rooms so you can get the proportions right for patterns and furniture. The more prepared you are, the more likely it is that your project will be a success.
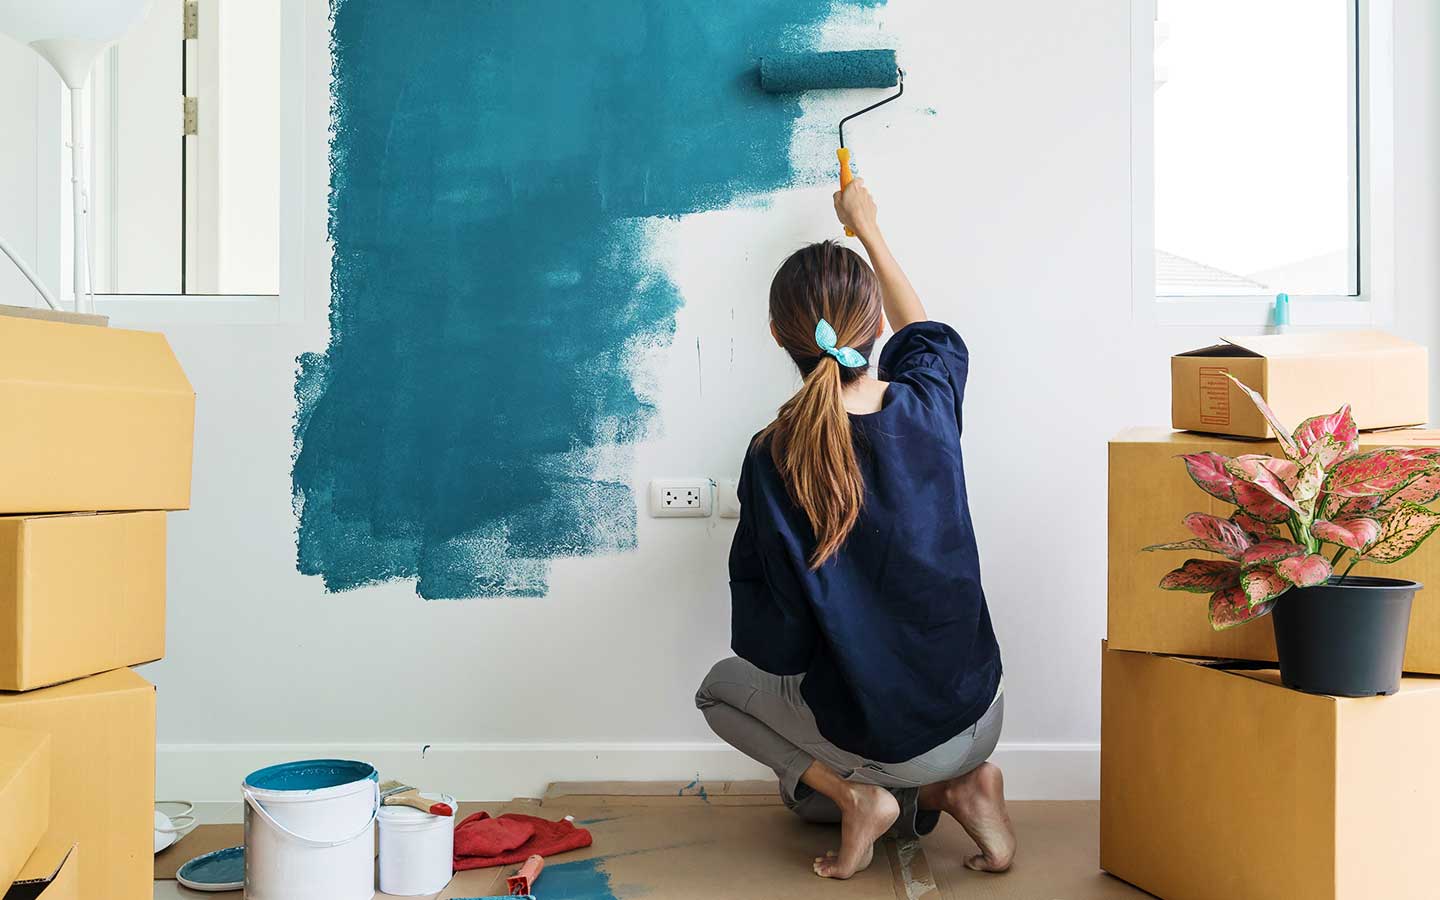
2. Make sure surfaces are smooth before you paint or wallpaper
One easy way to update a space is to designate an accent wall to decorate with a pop of color or even cool wallpaper. You can get your painting or wallpapering to be as pristine as the pros by making sure you start with a completely smooth surface. Fill in any holes from artwork and shelving with spackling compound (or joint compound for larger holes) and use fine-grit sandpaper from the baseboard to the ceiling, using a sanding pole to reach the high places, to add a final polish. Be aware of the pressure you are putting on the pole because you don’t want to flip the head over, which can damage your wall.
3. Choose tinted primer
Speaking of painting the walls, the next step after sanding for a smooth surface is using a primer to prep the walls for paint. Primer is important because it protects surfaces, ensures durability of the paint, and makes it easier for the paint to adhere to the walls. Most people go for a white primer, which is not wrong, but it’s actually better to use tinted primer. This type does a better job of covering the surface, so you don’t have to paint as many coats to get complete coverage. Tinted primer is especially good for reds and oranges, making them appear even brighter and bolder, but this tip also rings true for most colors.
4. Use laminate to update vinyl flooring
If your kitchen or bathroom floors could do with a makeover, but you are intimidated by the idea of taking on your vinyl flooring, don’t be afraid. Laminate flooring is an easy DIY solution that will also give your floors a fancy finish with better durability at a lower cost than vinyl. Home improvement professional Scott Branscom recommends looking at the status of your current floor to see if you have to remove it before you start. If none of the edges of the vinyl tiles are torn and the seams are still intact, then you’re good to go. If you have to remove the tiles, use a long handle floor scraper for leverage and to protect your back, and you can use soap and water to loosen those hard-to-remove tiles.
5. Get your backsplash straight
One of the most frustrating things about getting the backsplash done is getting the patterning right. If you’re trying a kitchen backsplash project for the first time, stick to straight lines rather than complicated configurations to keep things simple. And along with getting a good leveler, the best way to make sure your lines are actually parallel to your surface is to start tiling from the bottom up. That way, you also don’t have to worry about the tile cuts you have to make when you get to cabinets because they don’t have to be as perfect. If your tiling has to go behind a stove, place a temporary piece of wood in line with the counter surface so it can line up with the other tiles.
6. Coffee table measurements matter!
Whether you’re planning to update your current coffee table with a new surface or you’re building a new one from scratch with found materials like wine crates or pallets, the only rule that you need to follow is regarding measurement. The coffee table golden rule is that your table has to be two thirds of the length of your sofa in order for the proportions to work. The height is equally important – the standard here is no more than two inches lower than the seat of your sofa for optimum comfort.